Scuba Diving Equipment
What I Pack for a Diving Holiday
Whether it’s a long weekend or a full dive adventure, I like to keep things simple and travel light. Over the past few years of diving, I’ve figured out what actually gets used and what just takes up space.
I always hire a BCD, regulator, and wetsuit if the water temperature calls for more than a rash suit. I know that’s not everyone’s cup of tea, but for me, it makes things a lot easier. My own mask is one I like, feel comfortable with, and it’s specially suited to help with my ears. I’ll explain more about that below. I also bring my fins, as I’ve hired them before and ended up with blisters. That’s not ideal when you’re diving for days in a row.
And don’t forget, you’ve got every right to ask for different hire gear if something doesn’t feel right. You’re paying for it, so check everything over and let the dive shop know if something needs swapping before you head out.
Dive Gear I Always Travel With
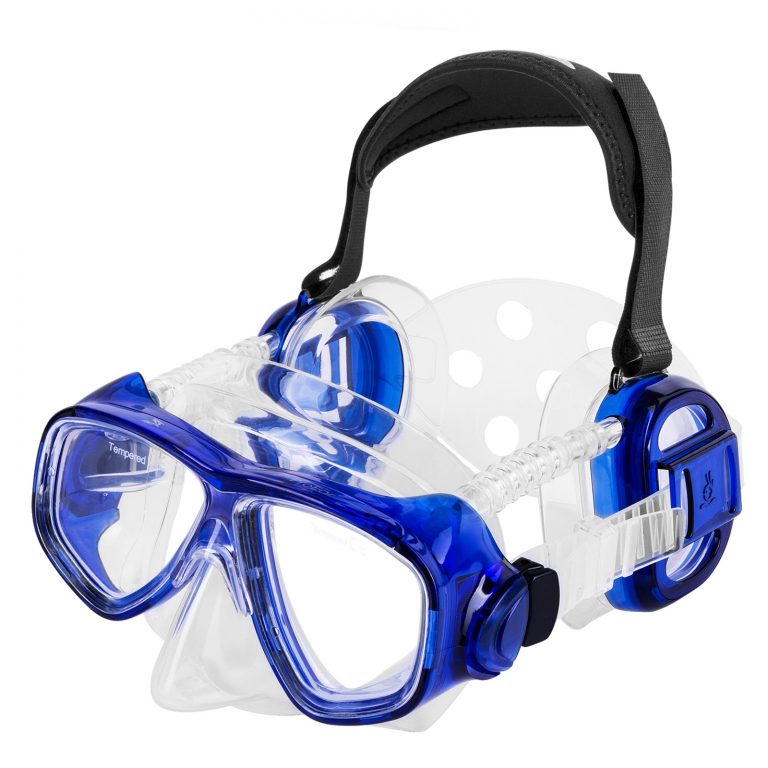
IST ProEar Dive Mask
This is the most important bit of dive kit I travel with. On my very first dive trip, when I passed my Open Water in Bali, I ended up with a pretty bad ear infection. It took nearly a month to clear up and definitely took the edge off what was otherwise an amazing trip.
That Christmas, my other half surprised me with this mask… the IST ProEar – and I’ve used it on every dive since.
This mask is designed to help protect your ears from water and pressure. It was developed by diving doctors and engineers to reduce the risk of ear infections after diving, which is something a lot of divers struggle with, especially in warm tropical waters. It’s not flashy, but it’s practical and it works.
If you’ve ever had to deal with ear pain after diving or had to cut a trip short due to an infection, you’ll know how frustrating it can be. For me, this mask has made diving more comfortable and worry free, especially on longer holidays where you’re doing multiple dives over several days.
If you’re looking for a dive mask to help with ear problems or something that offers better scuba diving ear protection, the ProEar is definitely worth checking out. It’s one bit of kit I wouldn’t travel without.
Suunto Dive Computer
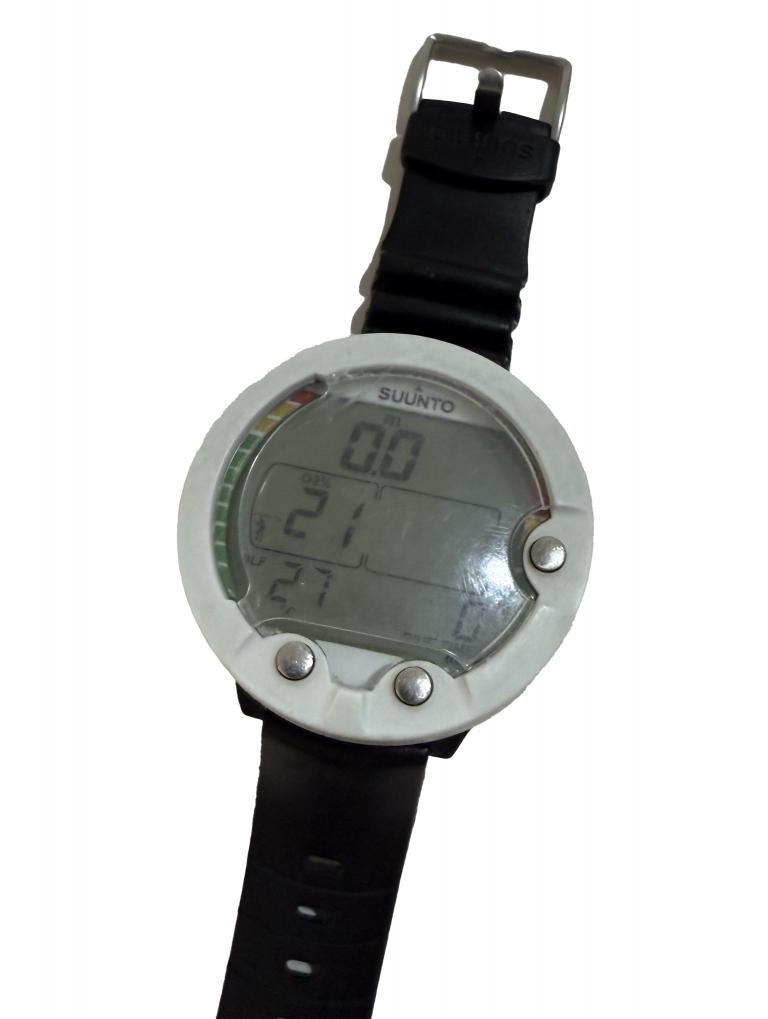
My dive computer has a bit of a story behind it. It’s an older Suunto model, an early version of the Zoop. My other half found it while diving in the Andaman Islands. It was covered in algae, but after a good clean and a battery change, it worked perfectly.
When I started diving, it became mine, and I’ve used it ever since. It’s a solid, easy-to-use computer that does everything I need. The screen is clear, the menus are simple to navigate, and it tracks all the essentials like depth, time, safety stops and no-deco limits. It also supports nitrox and full decompression diving, so it’s got more than enough features for recreational use.
A dive computer is something I’d always recommend. If you don’t have your own, most dive schools will rent one out, but having one you know and trust makes your dive much more relaxed.
Scubapro GO Travel Fins
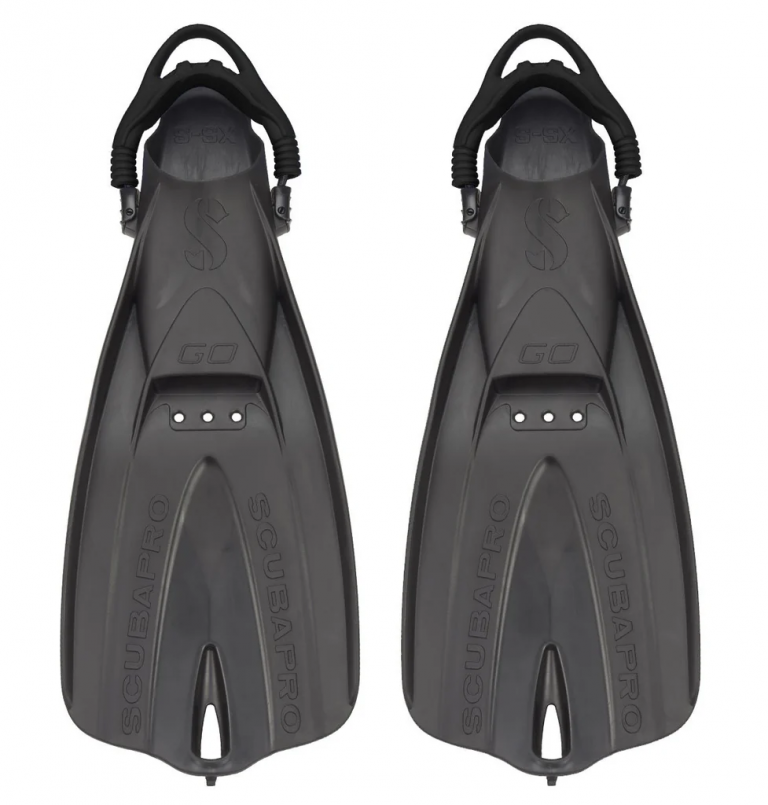
Next on the list are my fins. I take my own because too many times I’ve hired fins and ended up with blisters, which just ruins the rest of the trip. These Scubapro GO Travel fins are lightweight, super comfy, and built for travel.
They’ve got a barefoot design with a self-adjusting bungee strap, which makes them really easy to get on and off. They also fit well with neoprene socks if needed. Despite being light, they’re tough and give you plenty of power in the water. I can pack them into hand luggage with no problem, which is a huge bonus when you’re flying with limited baggage.
Scubapro UPF 50 Steamer Rash Suit
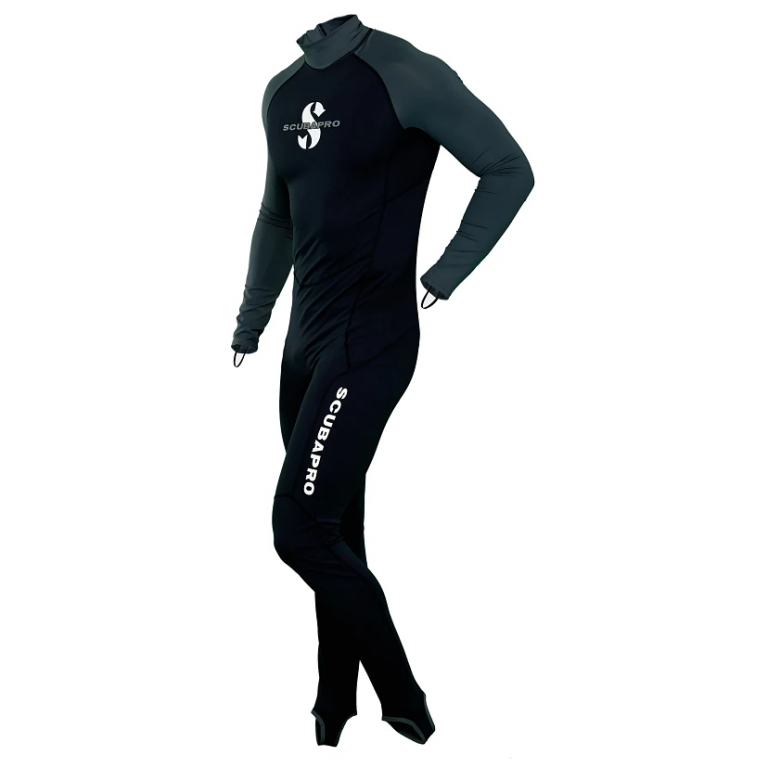
I much prefer using my own Scubapro UPF 50 Steamer rash suit. When the water’s warm enough, I don’t need a wetsuit at all. If it’s a bit cooler, I’ll rent one from the dive shop. I always make sure to give it a proper rinse first, just to be safe.
The Steamer gives full-body protection from stings, scrapes and the sun, both in the water and on the surface. It has thumb loops and foot stirrups to keep everything in place, especially if you wear it under a wetsuit. The fit is snug but still comfortable, and it’s light and flexible, which makes it great to dive in.
It’s ideal for warm water dives, snorkelling, or even just floating about between dives. Easy to pack, quick to dry, and one less bit of kit to think about when planning a trip.
Accessories I Always Take
Saekodive Magnetic Scuba Rattle
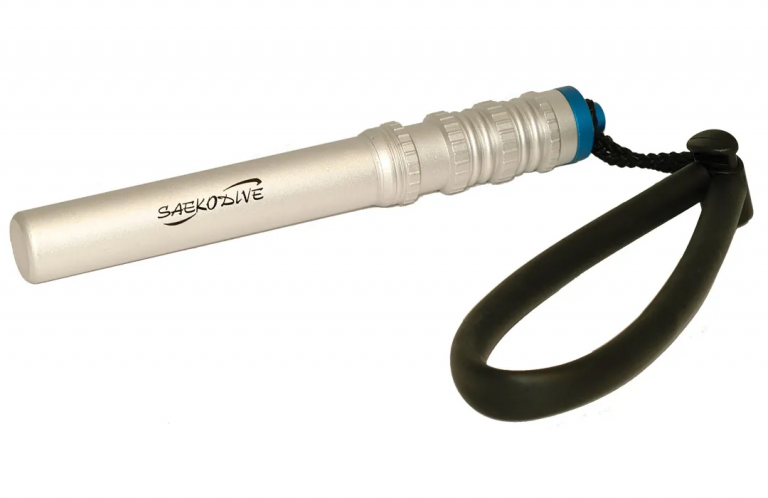
This is one of those small bits of kit that comes in surprisingly handy. I use the Saekodive Magnetic Scuba Rattle to get my buddy’s attention underwater, whether I’ve spotted something worth a look or just need to check in.
What I like about it is the magnetic system. It keeps the rattle silent until you need it, so it doesn’t make noise throughout the dive. It’s simple, reliable, and clips easily onto your BCD. A useful bit of kit if you’re diving in a group or want another way to communicate underwater.
Kraken NR-1500 Dive Torch
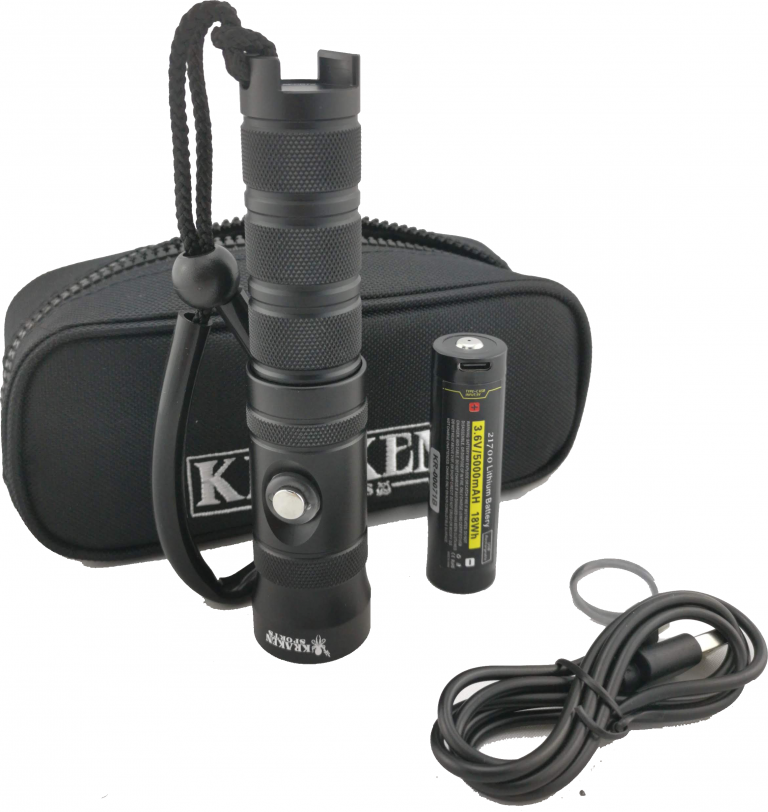
This is my go-to dive torch for general use. The Kraken NR-1500 is compact but powerful, perfect for spotting critters hidden in the reef or taking on a night dive. I’ve got a separate wide-angle light attached to my camera setup, but this torch is super handy to have clipped on for any dive.
It runs on a 21700 battery, which gives higher lumen output and longer burn time. One of the best features is the USB-C charging built straight into the battery itself. No extra chargers, no messing about with cables… just plug it in and it’s good to go.
The battery also has a built-in level indicator, so you know when you’re fully charged before the dive and can keep an eye on usage while underwater. It’s lightweight, easy to use with a one-button control, and solid enough to handle a few knocks.
Whether it’s for extra light on a daytime dive or as your main light at night, this torch is always worth bringing along.
Mask Defog
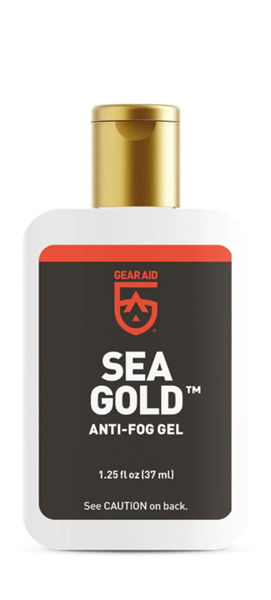
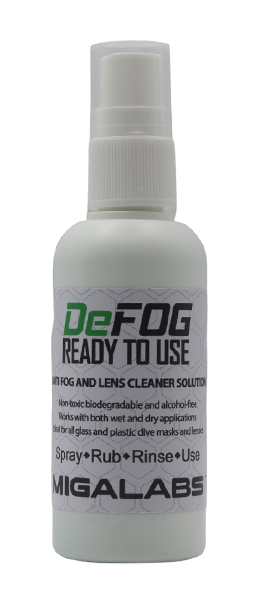
This is one of those small items I never dive without. Even the best masks can fog up, and nothing ruins a dive quicker than poor visibility. I always prep my mask before every dive with defog, just in case.
My go-to is Sea Gold… it’s reliable, easy to use, and works well in most conditions. More recently, I’ve started using Migalabs DeFOG, which I actually prefer. A spray on each side does the trick and keeps the mask clear throughout the dive.
I learnt the hard way after a little incident in Sint Maarten. If your mask still fogs up during a dive, there’s a quick fix that works well for me. I gently pinch the top of the mask seal to let a small amount of water in, then move my head side to side to swish the water around the inside of the lens. Once it’s rinsed the fog away, I clear the mask by looking up slightly and blowing out through my nose while lifting the bottom of the nose pocket. It’s simple, quick, and doesn’t interrupt the dive.
Water Pro 14" Diving Pointer
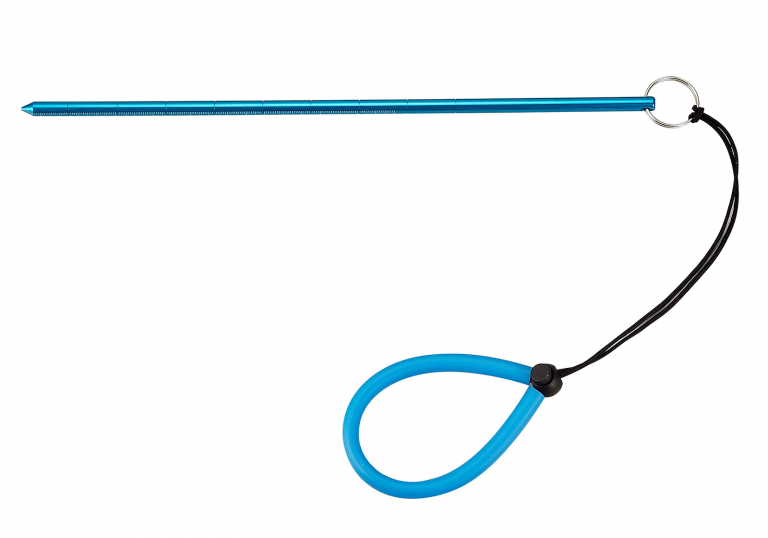
This pointer comes with me on every trip. It’s brilliant for getting a closer look at something without disturbing the reef, and it’s especially handy when lining up a macro shot. You can also use it to point out marine life or potential hazards to your buddy.
It doubles as a tank banger too. If you haven’t got a rattle, a quick tap with the pointer gets attention just as well. It’s lightweight, easy to hold even with gloves on, and the measurements on the shaft are useful for estimating size when you spot something interesting.
Camera Equipment I Travel With
I didn’t start out with loads of kit. Like most divers getting into underwater photography, I just wanted to capture a few moments… the big stuff mostly… and share what I was seeing down there. Over time, my gear has evolved to suit the kind of diving and photography I enjoy, especially macro.
From GoPro to Compact Camera
I started with a GoPro Hero 9, mounted on a simple handle with a Movo dive light. It was great for filming larger marine life, and perfect for getting started. The setup was compact, easy to travel with, and gave decent footage in good conditions.
I later upgraded to the GoPro Hero 12, which improved video quality and made screen grabs a bit sharper. But I still found it frustrating for still photography. Burst shots took ages to process, and GoPros just don’t cope well with macro.
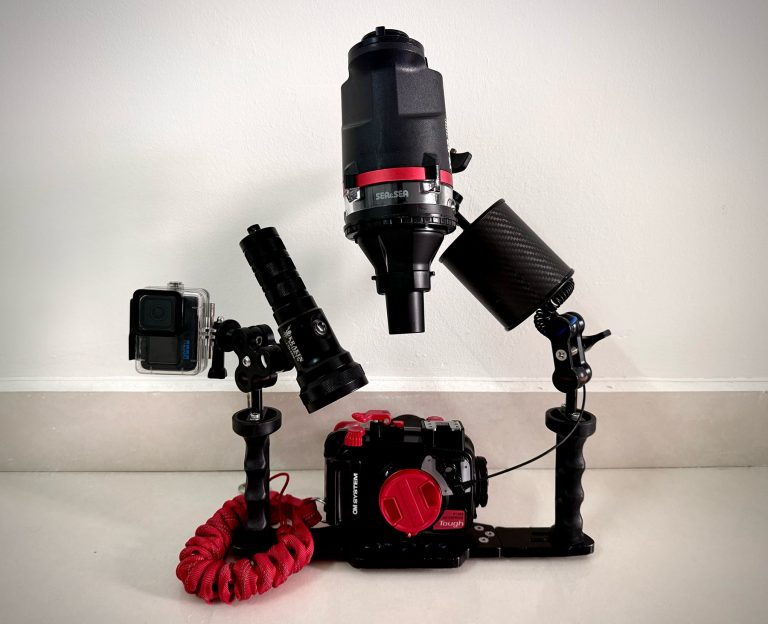
To improve close-up shots, I added a Backscatter macro lens to the GoPro housing. It made a noticeable difference, especially for mid-sized reef life. But when it came to really fine detail, it still fell short. So in May 2025, I switched to the Olympus TG-7, paired with the OM System Tough housing, and that’s when things really changed.
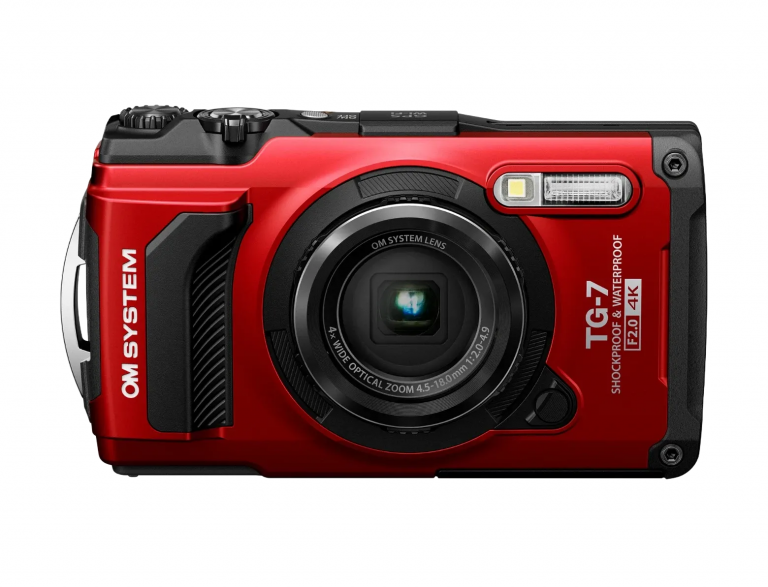
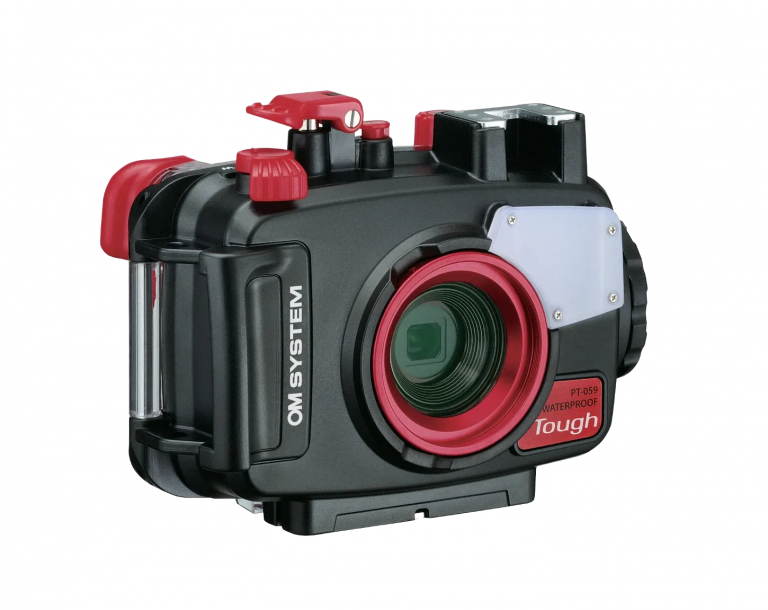
OM System TG-7 with Tough Housing
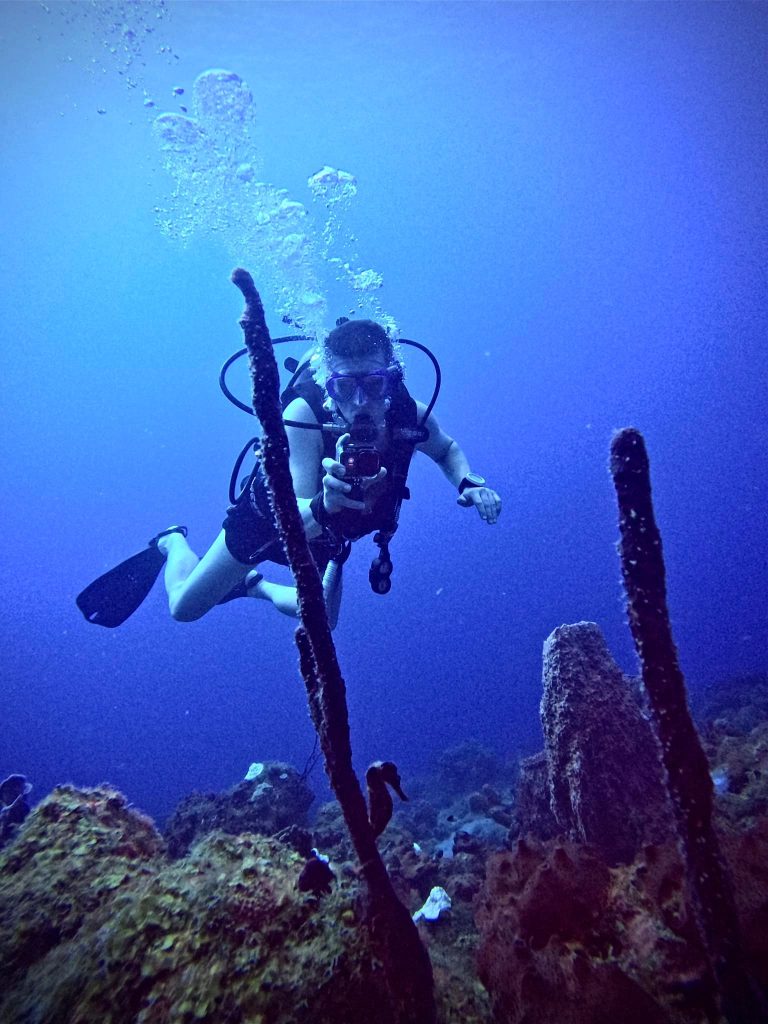
The OM System TG-7 is ideal for underwater photography. It’s tough, compact, and packed with features that make it perfect for dive trips. You can take it to 15 meters on its own, but for anything deeper, I use the PT-059 underwater housing, which is waterproof to 45 metres. It gives full protection and lets you access all the camera controls easily while diving.
The housing is built specifically for the TG-6 and TG-7 and is a must if you’re planning to dive regularly. It’s solid, reliable, and gives you the confidence to take your camera further without worrying about water damage.
What really stands out with the TG-7 is its macro capability. It has four different macro modes, including Microscope Mode, Focus Stacking, and Focus Bracketing. It can focus as close as 0.39 inches and zoom up to 44x, so it’s ideal for getting into the finer detail. It also shoots in RAW, which gives you much more flexibility when editing.
The camera is easy to use underwater, with a large screen and simple menus. It also has built-in GPS, Wi-Fi, compass, and thermometer, which are great for logging dive data and transferring photos straight to your phone. I’ve mounted my GoPro on top of the housing using a horseshoe bracket too, so I can shoot video and stills at the same time.
Strobe & Video Light
In June 2025, I added a Sea&Sea YS-D3 Duo Underwater Strobe, which I picked up from Scubaholics Anonymous at MIDE Malaysia. I’d bought the TG-7 from them the month before, and they helped me choose the right strobe to pair with it. It works really well with the camera using a fibre optic cable and supports OM System’s remote flash system, giving consistent, accurate lighting that really brings macro shots to life.
It does go through batteries fairly quickly, so I’d definitely recommend using rechargeable lithium AAs… and always take a spare set on the boat, just in case.
To add even more light and colour, I also added a Kraken LTD-2500 video light. It puts out 2500 lumens of wide flood and 1500 lumens of spot, with a burn time of around 60 minutes at full power. It’s got a single-button control, a battery level indicator, and a compact design that’s easy to travel with. A great option if you don’t need loads of colour modes or extras… just solid, reliable light.
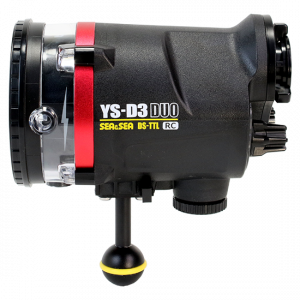
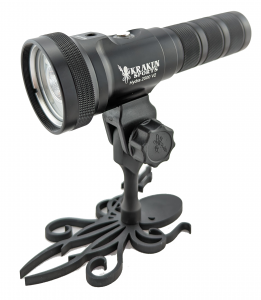
Sea&Sea YS-D3 Snoot
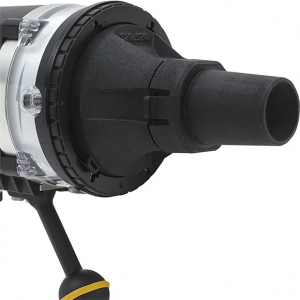
To refine the lighting even further, I recently added a Sea&Sea YS-D3 Snoot. This small attachment fits over the front of the strobe and narrows the beam into a precise circle of light. It’s ideal for highlighting small subjects or creating a more dramatic look in macro photography.
The internal prism aligns the strobe and target light perfectly, so what you see is exactly where the light falls. It attaches easily using a bayonet fitting and is made from corrosion-resistant materials, so it’s built to handle regular use. Perfect when you want to control light spill and draw attention to the subject without lighting up the whole scene.
Balancing the Setup
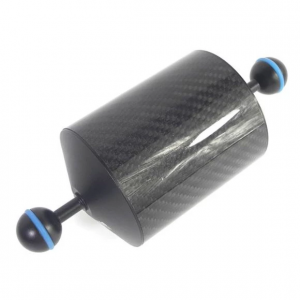
With the strobe and video light attached, the rig started to feel a bit heavy underwater. I added a Bubble Scuba 5″ D60 float arm to help balance it out. Float arms add buoyancy, reduce wrist strain, and make it easier to hold your position while lining up a shot. They also help reduce camera shake, which is especially useful when shooting macro.
Final Thoughts
Now I’ve got a setup that suits my diving and my photography style. It’s compact, lightweight, and easy to pack, but powerful enough to produce sharp, detailed images on every dive. For anyone looking to get more serious about underwater photography… particularly macro… the TG-7 with a strobe and video light is a great place to start.
Where I’ve Been Diving
Although I’ve been lucky enough to travel quite a bit, my scuba diving journey only began in 2022 when I took my PADI Open Water Course in Bali. Since then I’ve been hooked and always looking for the next underwater adventure.
On the map below you’ll see the countries I’ve visited highlighted in green. The clickable dots show the specific dive sites I’ve explored so far. Click a dot to find out more about each destination and what it’s like to dive there.

